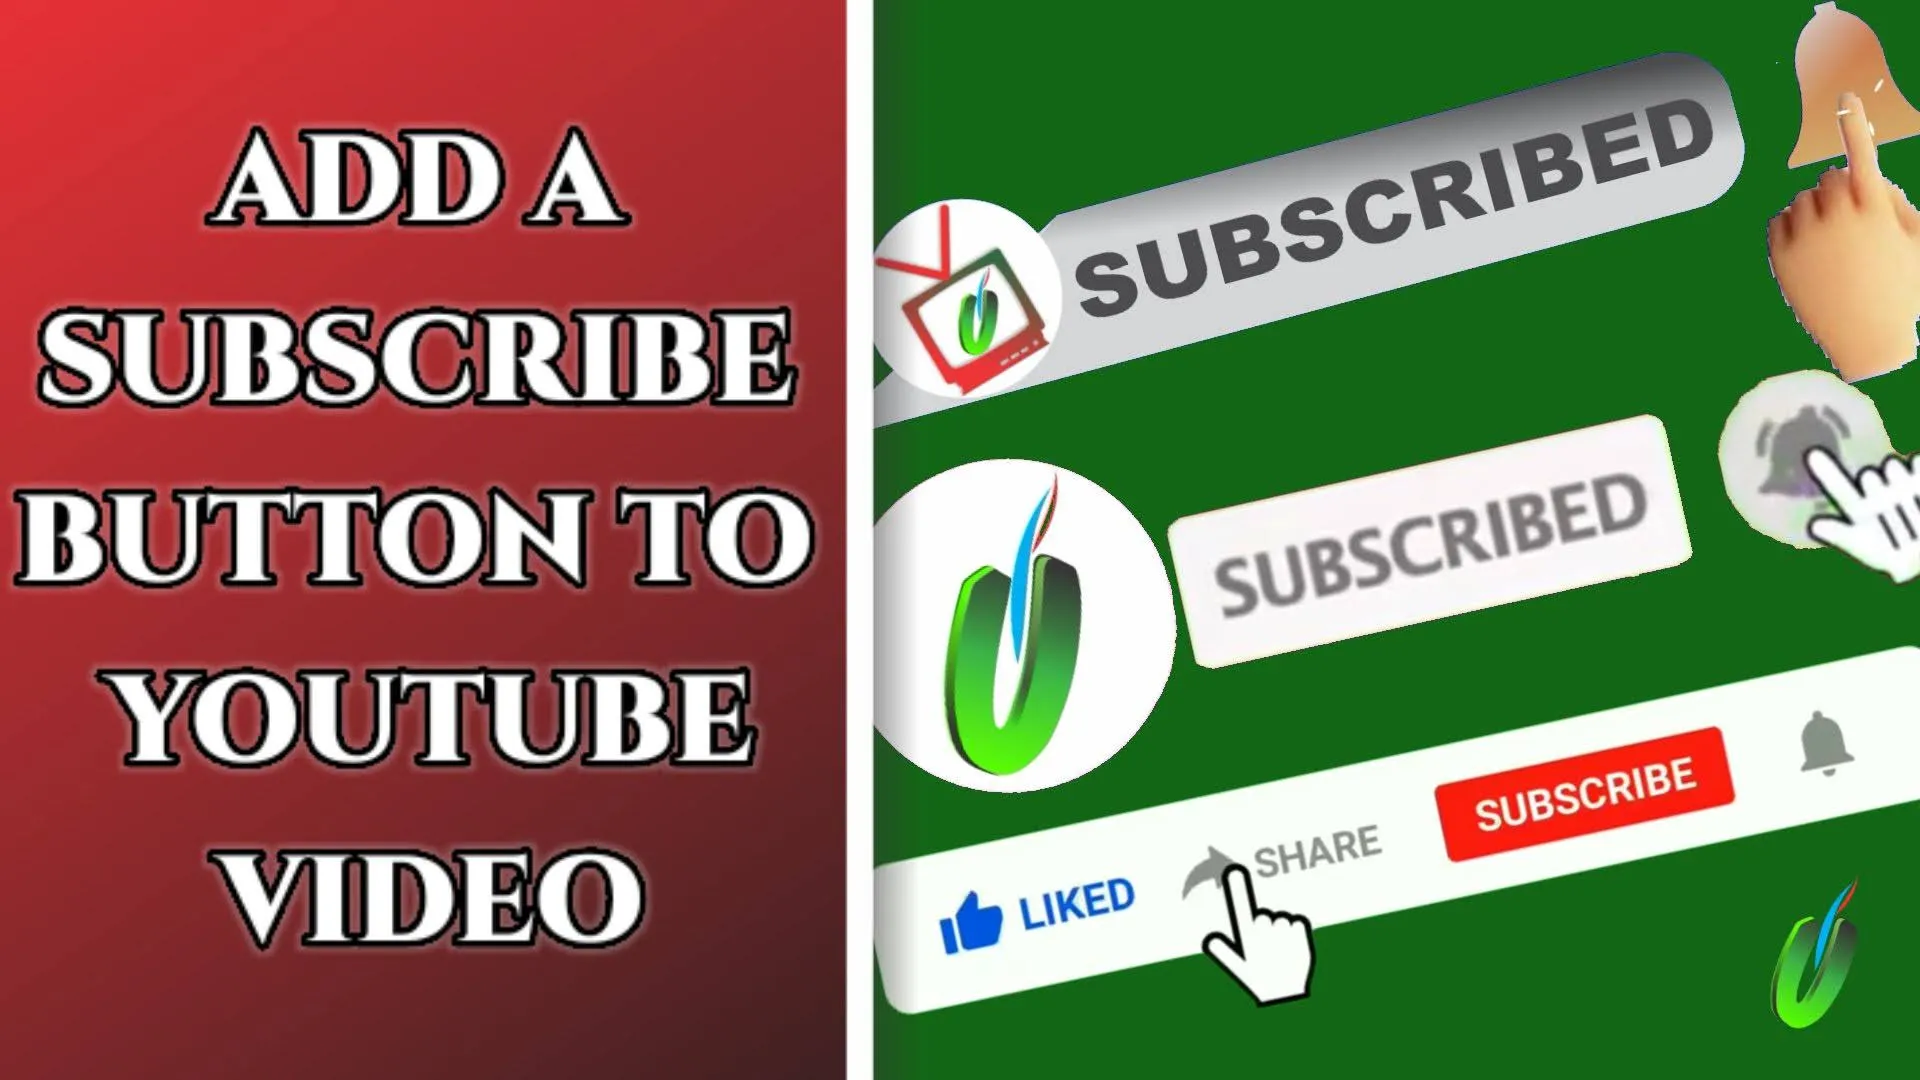
How to Add CTA animation button to your YouTube video.
As a small youtube content creator, who need more people to subscribe to your channel, there are some settings you need to implement on your channel for a very fast growing channel, which among those settings is adding a subscribe button, also known as the call to action button (CTA), in case if you have not read the post on How to set up a fast growing channel, kindly check it now before reading this post on CTA button.
CTA means Call To Action. Which is used to tell viewers what you want
them to do while they watch your videos. You can add this animation to your
videos using any video editing software that support the Chroma key
features, which there are variety of such application for computer and
mobile users, as a beginner you can start with your computer base and
the software
I will recommend you start with is called Kdenlive, if you don't have a
personal computer or a laptop you can get the
Kinemaster
video editor, which is available on both Android and iPhone devices, I
will be using kinemaster for this tutorial on how you can add a green screen
subscribe button to YouTube video, so let's get started.

Download and install Kinemaster Pro version
Get a green screen subscribe animation clip, you can search on YouTube to download your preferred one.
After getting the green animation clip, open Kinemaster and create a new project ( by pressing the "+" button ) with resolution for YouTube video which is 16:9.

Click on media to import the video you want to add the subscribe button, then click on layer to add the green screen animation clip to the video
You will see a green background on the video just as in the image above, your aim is to remove the green background and resize the animation to fit the main video.

Select the animation clip on the layer and navigate to Chroma key option in the settings,

1. click and adjust the Chroma key until the green background disappeared completely.
2. click on the mark button at the top left corner of the screen and resize the subscribe animation clip to fit the video,


Finally, click on the export button at the top left corner of the screen, as in the image above and then select the resolution to be either HD 720p, SD 540p, or 480p depending on the type of quality you want the video to be and then click export to render your video and that is all, the video will be stored under internal storage of your device, in a folder named Kinemaster »» Export files.
That's all for this tutorials, if you found this very useful, kindly share it with your friends. Thanks for reading.

0 Comments
Please drop your comment using the blogger comment tap. No spam is allow!